 Reviews


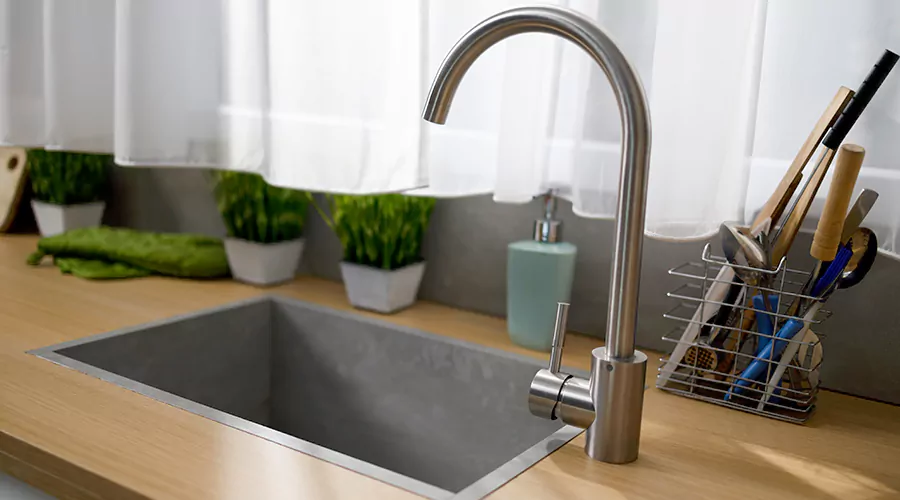
A properly mounted undermount sink hangs from clips rated for up to 300 pounds and never relies on caulk alone. Skipping the clips is the mistake behind nearly every sink that drops into the cabinet within two years.
The right way of how to mount an under counter sink combines epoxy-set clips with a silicone seal. The hardware costs under $30 and adds one hour to the job. For professional sink installation, the same mounting principles help ensure the bowl remains securely supported.
Some guides label the work how to install an under the counter sink, and the phrase means the same job. Whatever you call it, the method below holds for decades.
Why Undermount Sinks Fall?
Undermount sinks fail from physics rather than bad luck. The bowl hangs beneath the counter, so gravity pulls on the mounting every second, and a filled double bowl can exceed 100 pounds. Adhesive alone eventually loses that fight.
The wrong way of how to mount undermount sink bowls is trusting silicone as the structure. Silicone is a sealant that blocks water, and it creeps under constant load. Checklists for how to mount under counter sink basins often skip the weight math entirely, which is why the failures cluster around heavy sinks.
Weight climbs faster than buyers expect. A deep 16-gauge stainless sink weighs more and needs added support compared with a shallow 18-gauge model, while cast iron and fireclay bowls demand heavier fastening hardware still.
Tools and Supplies You Need
Everything for how to install under counter sink projects fits in one shopping basket for under $50 beyond the sink. The clips do the holding while the epoxy anchors them to stone without drilling. Gather it all before the dry fit.
- Epoxy adhesive suitable for stone
- Undermount clip kit, zinc-plated steel, no drilling required
- 100% silicone caulk for the rim seal
- Denatured alcohol and rags for cleaning
- A screwdriver and optional clamps
- A 2x4 and a bar clamp to hold the sink up during cure
Mount the Sink With Clips and Epoxy
Every method for how to install undermount sink basins starts with a dry fit before any adhesive opens. The full job runs about two hours of work plus overnight cure time. Follow the sequence exactly, because epoxy forgives nothing out of order.
- Clean both surfaces: Meticulously clean the sink rim and the underside of the countertop, since any dust or residue compromises the adhesive bond.
- Dry fit and mark: Center the sink under the cutout and trace its outline plus each clip position.
- Set the clip studs: Here's how to install undermount sink clips into stone: mix a coin-sized dab of epoxy per stud, press each stud into place around your marks and leave them alone until fully hard.
- Respect the cure: Follow the manufacturer's curing time exactly, because epoxy needs its full duration to reach bonding strength.
- Seal the rim: Run an unbroken bead of silicone around the sink's flange.
- Lift and lock: Press the sink up against the counter, swing the clip arms over the flange and tighten them with a screwdriver to hold the sink while the adhesive sets. Brace it from below with the 2x4 overnight.
Knowing how to secure undermount sink bowls means clips plus epoxy working together rather than either one alone. The silicone seals while the steel carries.
Kitchen Sinks vs Bathroom Sinks
Weight separates the two jobs completely. Learning how to install undermount kitchen sink basins starts with the load, since a big kitchen bowl full of water and dishes stresses every clip. A professional kitchen plumbing approach also considers the sink's connections and surrounding cabinet space.
- Kitchens reward doing the job early: The safest way of how to mount an undermount kitchen sink is with the countertop flipped upside down on sawhorses before it's ever installed, which is exactly how fabricators do it.
- Heavy bowls also justify support strips: or rails across the cabinet as a backup the clips never feel.
Bathrooms are the confidence builder Learning how to mount an undercounter sink pays off fastest at the vanity, where bowls are light and cutouts are small. The steps for how to install an under counter sink in a bathroom follow the same sequence at friendlier scale.
Installing From Below Without Removing the Counter
Retrofit installs happen entirely from inside the cabinet, and they work. If you're wondering how do i install an undermount sink without pulling the countertop, from below is the standard answer. The awkward part is holding the bowl overhead while you work.
- Solve the holding problem first: Cut a 2x4 slightly longer than the cabinet opening and wedge it under the sink with shims, or run a bar clamp from the faucet hole down through the drain. With the bowl pressed tight, the clip and epoxy sequence proceeds exactly as above.
- Repeat failures need one extra step: People asking how do you install an undermount sink after a previous one dropped can often reuse the old clip studs if they're still bonded firm. Wiggle each stud hard, replace any loose ones with fresh epoxy and let everything cure before hanging weight again.
Countertop Materials That Change the Method
Stone is the easy case, and everything else needs an adjustment. Quartz and granite take precision cutouts and bond well, while laminate and solid-surface tops mill and bond differently. Match the anchor to the material or the mount fails early.
- Laminate is the big exception: The question of how to secure an undermount sink to laminate has a different answer entirely, because the particleboard core swells when the cut edge meets moisture. Laminate installs need a fully sealed cutout edge plus wood mounting rails screwed to the cabinet rather than epoxy studs, and many fabricators decline the combination outright.
- Outdoor projects add climate: The plan for how to mount an under the counter sink in an outdoor kitchen must use stainless clips and exterior-rated silicone, since freeze cycles crack standard epoxy pads within a few winters.
Common Mistakes to Avoid
Seven mistakes cause nearly every undermount failure. Each one is invisible on install day and obvious a year later. Read the list before opening the epoxy, because none of them can be fixed after cure.
- Mounting with silicone alone and no mechanical clips.
- Skipping the cleaning step, which leaves residue that weakens the adhesive bond.
- Rushing the cure and hanging weight on soft epoxy.
- Overtightening clips until the studs pop free.
- Leaving gaps in the silicone bead that leak into the cabinet.
- Ignoring sink weight and using a light-duty clip kit.
- Forgetting drain height, which can leave the trap too low to connect.
What Installation Costs in 2026?
Undermount work prices by material and weight rather than bowl size. An undermount sink costs $250 to $1,500 on average including installation. The table splits the realistic 2026 scenarios.
| Scenario | 2026 cost |
|---|---|
| DIY remount of existing sink | $30 to $60 in clips and supplies |
| DIY new sink install | Sink price plus about $50 |
| Pro install, mid-grade granite | $720 to $1,050 total |
| Pro install, premium quartz with disposal | $1,150 to $1,650 total |
| Contractor-supervised project | Add 13% to 22% markup |
When to Call a Professional
Call a pro when the countertop itself needs work. Cutting or polishing a sink opening in stone requires diamond tooling and dust control that no weekend kit replaces. Mounting into an existing cutout stays DIY-friendly while creating the cutout does not.
Weight draws the second line. Fireclay and cast iron bowls in the 100-pound class need two sets of hands and purpose-built support rails, and a dropped one destroys the cabinet floor on its way down. Finally, any laminate conversion deserves a fabricator's opinion before you commit, since the honest answer is often a top-mount sink instead.
Conclusion
Steel carries the sink and silicone only seals it, and every lasting install respects that split. Clean surfaces, patient epoxy cure and snug clips turn a two-hour job into a twenty-year mount. Stone cutting and heavyweight bowls remain professional territory. This week, open the cabinet and press up on your sink rim, and you'll know in five seconds whether this guide is maintenance or emergency reading.